Why High-Quality Drywall Finishing Makes a Bigger Difference Than Most Ottawa Businesses Realize
Why High-Quality Drywall Finishing Makes a Bigger Difference Than Most Ottawa Businesses Realize
When businesses plan commercial renovations, they often focus heavily on flooring, lighting, furniture, and layout design. However, one detail quietly influences the entire appearance and performance of a space: drywall finishing. High-quality drywall work affects everything from professionalism and durability to lighting and long-term maintenance costs.
In commercial environments, poorly finished walls quickly become noticeable. Uneven surfaces, visible seams, and cracks can negatively impact how employees, customers, and tenants perceive a business. On the other hand, expertly finished drywall creates clean, polished spaces that support productivity and leave a strong impression.
At RGZ Cambridge, we specialize in commercial steel stud and drywall projects throughout Ottawa and surrounding areas. With over 20 years of experience, our team understands how proper drywall finishing contributes to long-lasting, professional commercial interiors.
If your business is preparing for a renovation or commercial upgrade, call (613) 695-5544, email info@rgz-cambridge.com, or visit our Contact Us page to discuss your project.
First Impressions Start with the Walls
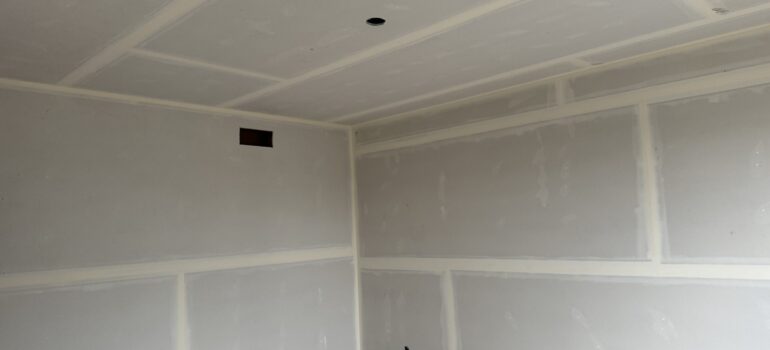
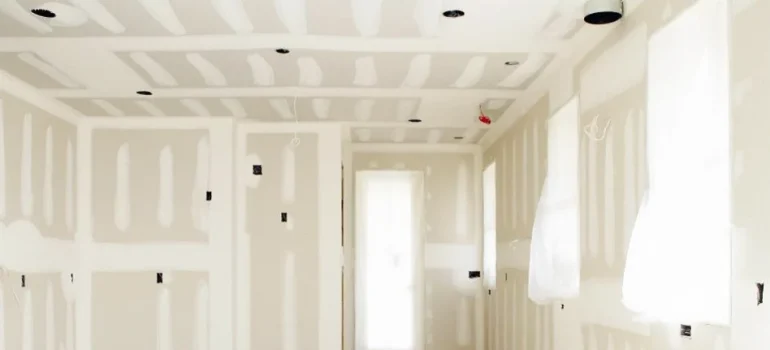
Customers and employees notice the condition of a commercial space immediately, even if they do not consciously focus on the walls themselves. Smooth, professionally finished drywall creates a clean and organized appearance that reflects positively on the business.
Poor drywall finishing often causes:
- Visible joints and seams
- Uneven textures under lighting
- Cracks near ceilings or corners
- Paint inconsistencies and surface imperfections
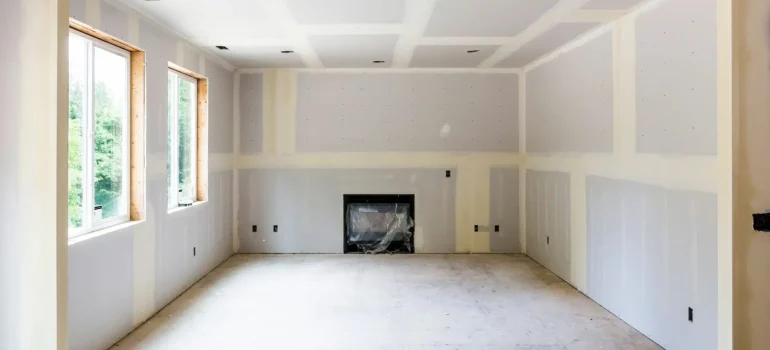
These issues can make even newly renovated spaces look unfinished or poorly maintained. In office environments, retail stores, restaurants, and commercial buildings, appearance directly impacts professionalism and customer confidence.
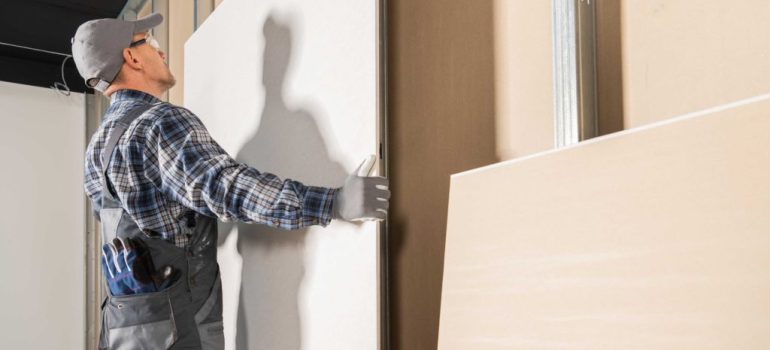
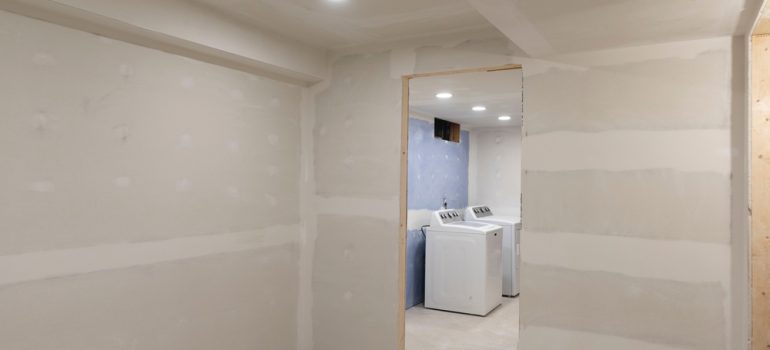
RGZ Cambridge approaches drywall finishing with precision and consistency. Our team ensures walls remain smooth, level, and durable throughout the entire finishing process. Proper preparation, sanding, taping, and finishing techniques create surfaces that elevate the entire commercial environment.
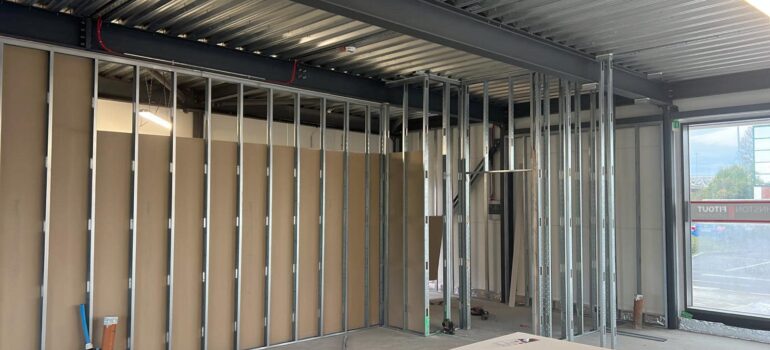
The Relationship Between Steel Stud Framing and Drywall Quality
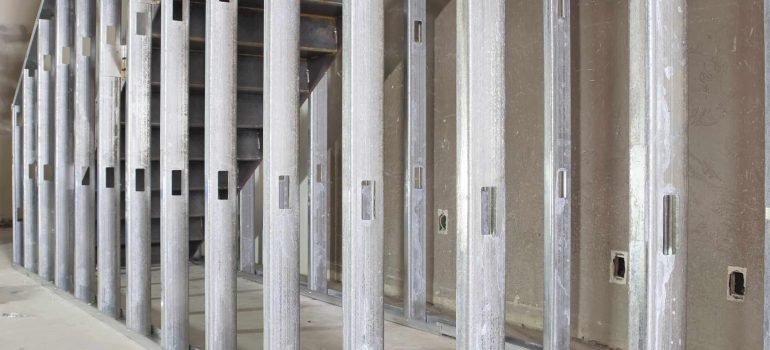
Many drywall problems actually begin behind the walls. The quality of the framing directly affects how drywall performs over time. That’s why steel stud framing plays such an important role in commercial renovations.
Steel studs provide a stable, straight framework that supports flawless drywall installation. Unlike wood framing, steel resists:
- Warping from moisture or humidity
- Shrinking caused by seasonal temperature changes
- Structural shifting that creates drywall cracks
Ottawa businesses benefit significantly from this durability because the local climate places constant stress on building materials. Steel stud framing helps maintain wall integrity while supporting cleaner, more professional drywall finishes long-term.
At RGZ Cambridge, our steel stud and drywall teams work together throughout the project. This coordination ensures walls remain structurally sound while achieving the highest level of finish quality possible.
Better Drywall Finishing Improves More Than Appearance
High-quality drywall finishing delivers practical benefits far beyond aesthetics. Businesses often overlook how wall quality impacts daily operations and long-term maintenance expenses.
Improved Lighting Performance
Smooth drywall surfaces reflect light evenly throughout a space. Uneven walls create shadows and imperfections that affect the overall atmosphere of the office or retail environment.
Lower Maintenance Costs
Professionally finished drywall reduces the likelihood of cracks, chipping, and visible wear. This helps businesses avoid repeated touch-ups and repair expenses over time.
Better Acoustic Performance
Well-installed drywall improves sound control between offices, meeting rooms, and shared commercial spaces. Better acoustics support employee focus and create more comfortable environments for customers.
Stronger Brand Presentation
Commercial interiors often reflect the quality and professionalism of the business itself. Clean, durable walls help reinforce a polished brand image for visitors, clients, and tenants.
RGZ Cambridge helps Ottawa businesses maximize these benefits through careful planning, expert installation, and attention to detail at every stage of construction.
Why Experience Matters in Commercial Drywall Projects
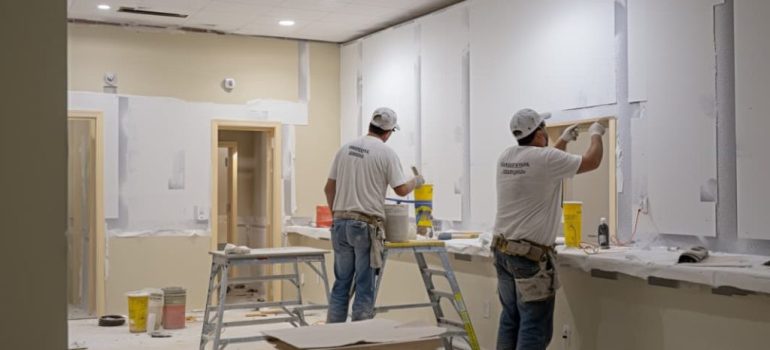
Commercial drywall finishing requires more precision than many people realize. Large office spaces, retail environments, and multi-unit buildings all present unique challenges that inexperienced contractors may struggle to manage properly.
Successful drywall projects depend on:
- Precise steel stud framing
- Proper material handling and storage
- Careful coordination with other trades
- Skilled taping, sanding, and finishing techniques
- Efficient scheduling to reduce downtime
At RGZ Cambridge, we bring over two decades of experience to every project. Our partnership with Cambridge Drywall Services allows us to manage projects of all sizes while maintaining consistent quality standards across every phase of construction.
Most importantly, we understand that businesses need renovations completed efficiently without sacrificing workmanship. Our team focuses on delivering long-lasting results that continue adding value years after the project is complete.
Commercial renovations represent a major investment. High-quality drywall finishing protects that investment by improving durability, reducing maintenance costs, and creating a more professional environment for everyone who uses the space.
If your Ottawa business is planning a renovation, RGZ Cambridge is ready to help. Call (613) 695-5544, email info@rgz-cambridge.com, or visit our Contact Us page to schedule a consultation today.
FAQs
Q1: Why does drywall finishing matter so much in commercial spaces?
A1: High-quality drywall finishing improves appearance, lighting, acoustics, durability, and long-term maintenance performance.
Q2: How do steel studs improve drywall performance?
A2: Steel studs provide straight, stable framing that prevents warping and structural movement, helping drywall remain smooth and crack-free over time.
What Clients Are Saying
Testimonial #1
“RGZ Cambridge completely transformed our office renovation project. Their steel stud and drywall work looked incredible, and the attention to detail really stood out. The entire process stayed organized and on schedule from beginning to end.”
Testimonial #2
“We hired RGZ Cambridge for a large commercial renovation in Ottawa, and the results exceeded expectations. The walls were flawless, communication was excellent, and the team worked efficiently throughout the project.”